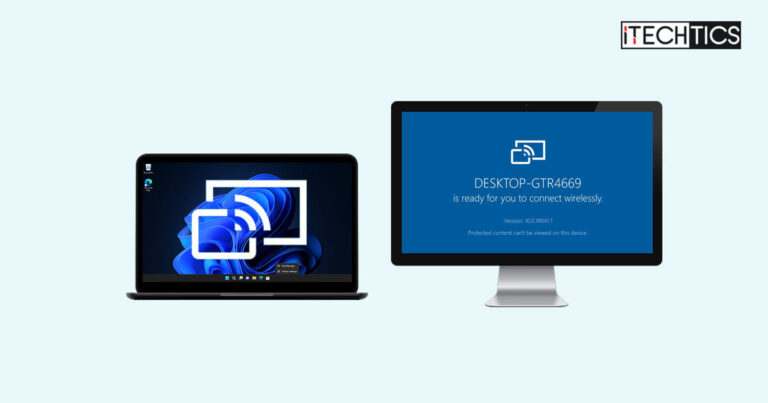
Although Wireless communication has been around for decades, there is still much to improve. This is what they are working on at Microsoft.
You can now project your Windows screen onto other wireless displays, like a TV, projector, or even another Windows PC!
Microsoft introduced “Wireless Display,” also referred to as “WiDi,” to Windows 11 22H2, and is now also available on earlier versions, including Windows 10. Using this feature, you can allow other PCs to project to your screen, or cast your screen onto other display devices.
That said, the Wireless Display feature is an optional feature that needs to be installed and configured in order to cast to it. In this article, we show you how to establish a connection using the Wireless Display feature from a Windows PC to another device.
Table of Contents
What is Wireless Display in Windows 11/10
Using Wireless Display, you can mirror your screen onto other devices with wireless capabilities. Alternatively, you can also use your own screen to project a screen from another Windows PC onto it.
The Wireless Display feature has the following capabilities:
- Supported Devices: Computers with wireless capabilities, Smart TVs, Projectors
- Transmission rate: 300 MB
- Range: 23 feet
- Frequency: 60 Hz
- Video Support: WiDi 1.0 720p, WiDi 2.0 1080p
- Audio Support: 5.1 channel
- Processor Support: Intel 4th Generation and above
Wireless Display packages the video and audio content into packets and transmits them wirelessly to the destination device, where they are then reconverted into audio and sound information and displayed onto the screen and output from the speakers.
That said, both devices must support the Miracast technology in order to transmit and receive wireless packets.
Now that you understand Wireless Display in Windows, let us now show you how to install this feature.
How to Install Wireless Display Feature in Windows
As we mentioned earlier, the Wireless Display feature is an option optional feature in Windows and needs to be installed manually. Here is how you can install it:
Navigate to:
Settings app >> Apps >> Optional features
Click “View features.”

View Optional Features Search for “Wireless Display” in the Add an optional feature window.

Search for Wireless Display Select “Wireless Display” and click Next.

Select Wireless Display Click Install.

Install Wireless Display feature
The feature will now take a moment to install on your computer.
When it is installed, you must then enable and configure it.
How to Enable Wireless Display on Windows
Since the Wireless Display feature is disabled by default, it needs to be enabled. Here is how you can enable and configure it:
Go to the following:
Settings app >> System >> Projecting to this PC
From the first drop-down menu, select “Available everywhere.”

Allow people to project to this PC (Optional) Under “Ask to project to this PC,” select your preference.

Ask before projecting to this PC (Optional) You can also require a PIN for pairing from the next drop-down menu.

Select PIN preferences
You’re all set! Now, you can project to this computer’s screen from another Windows PC, or project your screen onto other devices.
How to Project/Cast Your Screen Wirelessly in Windows
Now that you’re all set to start projecting your screen, the guide below will show you how to do it.
Before you do, remember that both devices need to be connected to the same network to make them discoverable.
On the device that you want to project, press the Windows Key + K shortcut keys to bring up the casting menu.

Here, select the device you want to project onto by clicking it.
After clicking on the device, on the remote device, you must click allow the projection. You have the option to allow only this one time, or always allow it. Select your preference and click Ok.

After this, your device will begin projecting onto another screen wirelessly.
Additionally, you can choose whether you want to keep the wireless device in mirror mode or extended mode. Like with multiple display devices, you can also choose whether to mirror your screen onto the wireless devices or use it as an extended monitor.
This can also be done using the Cast menu with the Windows Key + K shortcut keys.

As you can see from the image above, you may also allow interaction from the remote device, or terminate the wireless connection by clicking “Disconnect.”
You should now have complete control over the Wireless Display feature in Windows and know exactly how it functions.
Disable Wireless Display
If you no longer use the Wireless Display feature, then we suggest that you remove it from your PC, or at least, disable the feature so that your computer is no longer visible over the network.
Disable Wireless Display
Navigate to:
Settings app >> System >> Projecting to this PC
From the first drop-down menu, select “Always off (Recommended).”

Disable Wireless Display
Alternatively, you can uninstall Wireless Display and disable the feature permanently.
Uninstall Wireless Display
Navigate to the following:
Settings app >> Apps >> Optional features
Search for “Wireless Display.”

Search for Wireless Display Click on the feature to expand it and then click Uninstall.

Uninstall Wireless Display
The Wireless Display feature will now be removed from your computer.
Closing Words
Using third-party applications for wirelessly displaying your screens may work, but most often, there are compatibility issues and untrusted applications. The Wireless Display feature is a Windows-native feature and is completely free to use, using which, you can project your screen onto other screens to stream videos and movies or give presentations.
Alternatively, you can also project another computer’s screen onto yours to monitor data, such as network traffic, etc.
All-in-all, we found the Wireless Display feature to be of use and will probably come in handy from time to time. How did you find the cool feature?


