The .SRT files, also known as SubRip Subtitle files, can be tricky to handle for beginners, especially for those entering the Video Logging (VLoging) industry and want their videos to be captioned perfectly.
Let us guide you through the best techniques used to create, edit and modify existing SubRip Subtitle files so that your videos attract more audiences with the visual text aid.
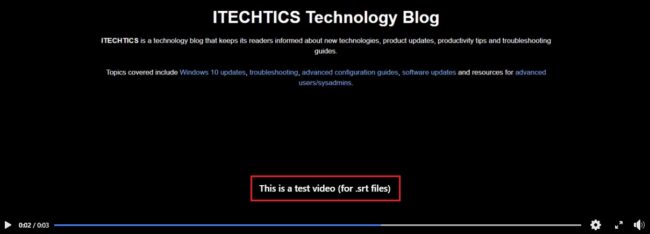
Subtitles can now be seen everywhere. Movies and videos already have them, and now the advertisement industry can also be seen adapting to the new trend. This is because the subtitles are a visual add-on for many as it attracts a wider audience.
People with hearing disabilities can now enjoy the sagas by understanding the story by text, and the more helpful use of the subtitles is if they are in a different language. A video having audio in one language but subtitles available in many different languages can be enjoyed by the people around the world who can read those languages, subsequently increasing the target audience.
Table of Contents
What are SRT files
SRT files provide the capability of adding text to videos as the video proceeds. Using these files, people can add subtitles to their videos and manage them accordingly. Things like what the text says and when it should be displayed can be controlled through them.
SRT files are crafted in plain text. Any text-editing software can be used to modify them, such as Notepad, Visual Studio Code, and Sublime Text, whatever your preferences are.
The syntax of an SRT file is also basic and pretty straightforward. The contents of a file contain the incremental order of the number of each text line, followed by the time duration when the subtitle needs to be played. The third argument is what the subtitle text will be.
These three things are then repeated for each subtitle line. Here is an example:
1
00:00:00,600 --> 00:00:01,200
Hello

2
00:00:01,500 --> 00:00:2,500
This is a test video (for .srt files)
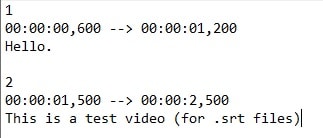
As in the example above, the syntax of the timestamp is hours:minutes:seconds,milliseconds, and the “–>” indicates the to and from on either side of it. Hence, by following this example, the first subtitle text will display “Hello” from 0.6 seconds in the video to 1.2 seconds, followed by the second subtitle text “This is a test video (for .srt files)” from 1.5 seconds to 2.5 seconds into the video.
How to open and edit SRT files in Windows 10
If you have an existing SRT file, you can easily open and edit it using any text editor or create one from scratch! Here is how you can edit a .srt file.
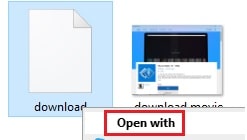
- Right-click on the SubRip Subtitle file and click Open with from the Context Menu.
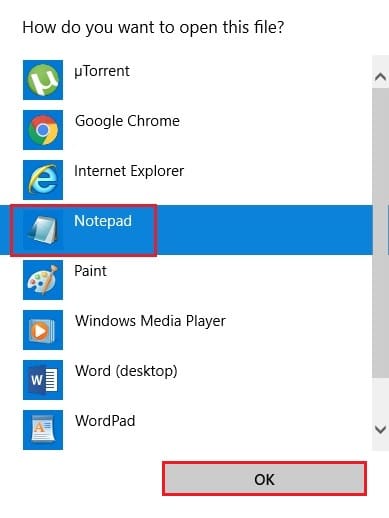
- From the pop-up window, select Notepad (or any text editor of your choice) and click Ok.
- You can now see the file in the text editor in a similar format discussed earlier in this article. Make the changes to the file you wish and then continue to save the file by expanding the File drop-down menu from the Title bar, and then click on Save as.
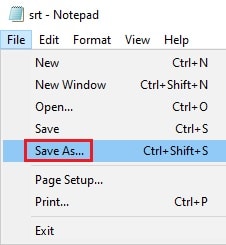
- Now select the file type in front of Save as type “All files,” and then name the file in the following syntax:
FileName.(two alphabet language code)_(two alphabet location code).srt
Replace FileName with any name of your choice. Also, replace the following two arguments with the two-alphabet language and location codes, such as in the example below:SampleSRTFile.en_us.srt
Click on save when done.
You may now use this file as an SRT wherever required. You may also create a new SRT file from scratch simply by creating a new file in Notepad (or any text editor of your choice), fill it up with subtitles in the syntax provided and then save it using the guide given above.
How to manage SRT files on different social media platforms
With the increasing use of subtitles in almost every video, social media platforms have also integrated management for SRT files and similar features onto their User Interface (UI). Some of the platforms have even introduced the automatic generation of subtitles on the videos. Let us see how you can manage subtitles for your videos on different social media platforms.
Manage SRT on Facebook
You can now upload your SRT files directly to the video post on Facebook or configure it to automatically add the subtitles even if you have not created a file for it.
Let us see how you can manage the subtitles on your videos on Facebook. Note that this feature is only available to users who upload and manage their videos from Facebook Pages or Groups and not their personal profiles.
- First, click on the Photo/Video button under Create post, and then select the video you wish to upload from the pop-up dialog box.

- Now click on Subtitles and Captions (CC) on the right.
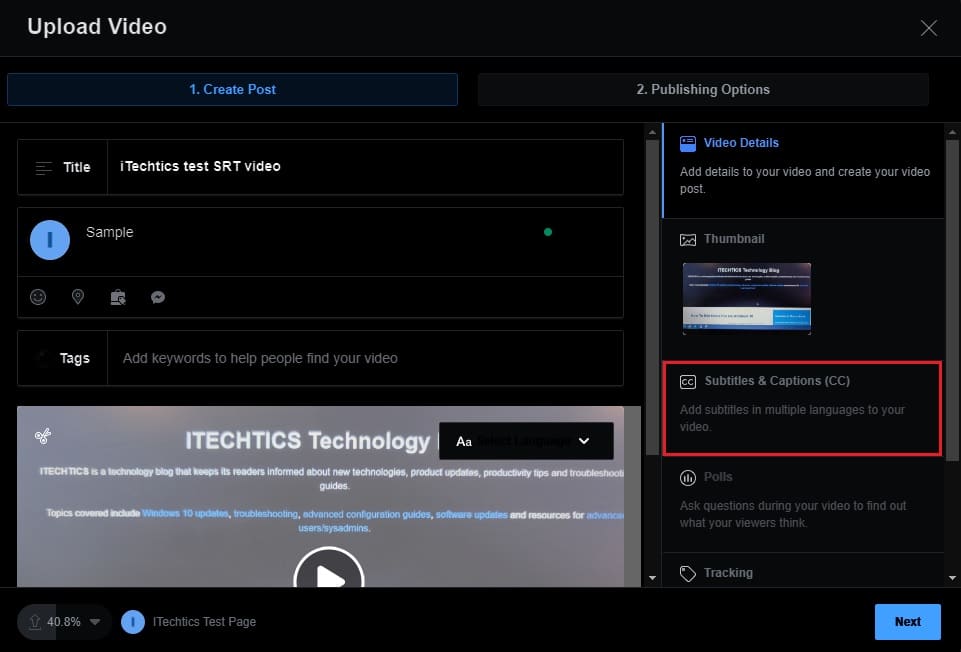
- On the next screen, you can choose to Autogenerate subtitles, upload your own SRT file, or write them right on Facebook.
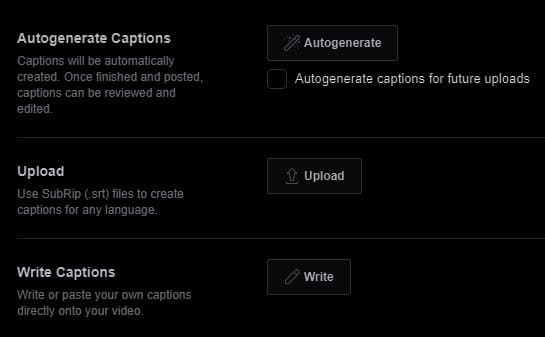
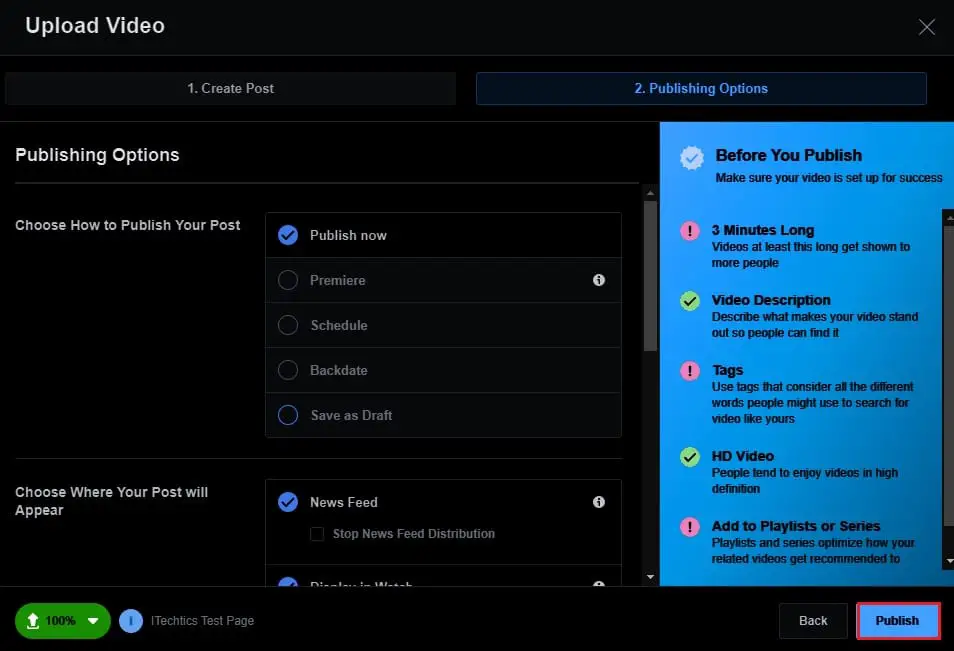
By selecting Autogenerate, Facebook will take a while to generate the subtitles for the video automatically. If you choose to Upload, you may then select the .srt file you have created for the corresponding video. If you choose Write, you can then type in the text for the subtitles and pick the time to display in the video right from the window on Facebook. When done, click Next. - In the next window, make the changes you wish to make and then click Publish to upload the video with subtitles.
Manage SRT on Youtube
On Youtube, since it is a video-streaming platform, users can also upload SRT files along with their videos to add subtitles. Note that you will need to register an account first with Youtube and then create a channel. Follow the guide below to learn how to do so:
- Navigate to your channel’s dashboard and click on Upload videos.
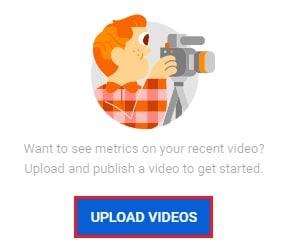
- On the next screen, click on Select files and then choose the video to upload from the pop-up dialog box.
- In the Details window, scroll down and click More options, and then scroll to the heading Language, subtitles, and closed captions (CC). Under the heading, select the SRT file’s language you are about to upload and the caption certificate, and then click on Upload subtitles/CC to choose and upload the SRT file.

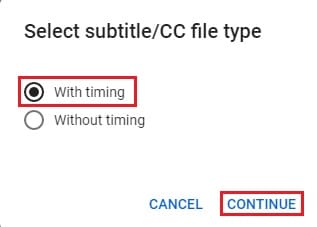
- On the next screen, select the type of file you are about to upload. Since we use an SRT file with time ranges, we will select With timing, and then click Continue. Then, select the SRT file to be uploaded.
- Now back on the Details window, fill out the rest of the details and click Next to proceed to the next screens and configurations. On the Visibility screen, select Public and then click Publish.
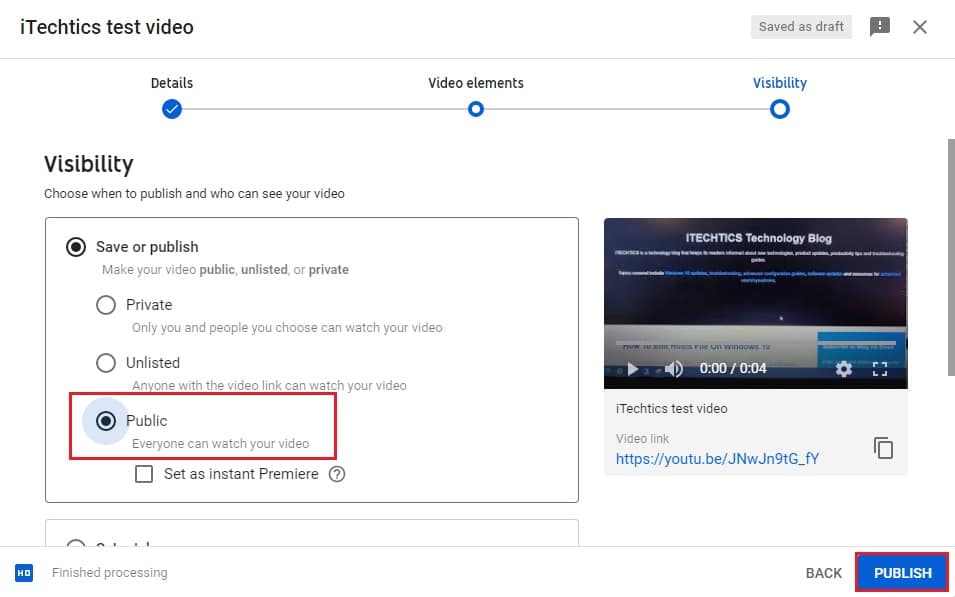
You have now successfully uploaded a public video to youtube along with an SRT file to merge in the subtitles.
Closing words
Business development experts have been coming up with ways to get their target audience’s attention, engage them more in their advertisements, and increase their audience.
According to a few research pieces carried out by different individuals, there is no single opinion on the effects of captions and subtitles on the audience. Some suggest that the learning capability is lowered while reading the captions, while others suggest that a narrated video takes precedence on the learning curve.
However, it is clear that the subtitles, even for the narration, enable a greater audience for the video as it supports many languages regardless of the audio’s language.


